Security Onion 2.4 for Threat Hunting [PART 1]
This isn’t a guide. I mean, I guess you can use it as one. But this is more for me than it is for you. This is a diary of desperate effort and unavoidable mistakes. I’m just going to assume that if you’re here, then you’re very lost and far past my help…or you’re a potential employer – in which case – I really hope you have a sense of humor.
I’ll be documenting my process of installing and setting up Security Onion 2.4 in an ESXi environment to then feed it PCAP files for obedience and Threat Hunting practice.
Upgrade ESXi to 8.0
Ok, so first thing:
Don’t do what I did.
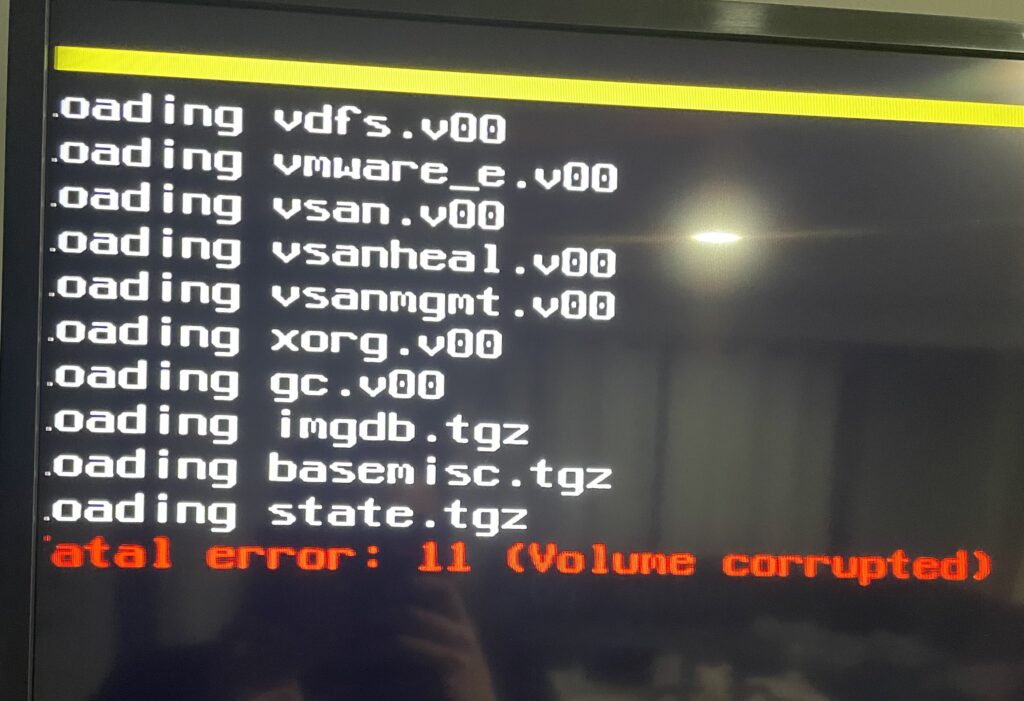
I tried to upgrade my server through the command line and at some point I broke it…and left it lying in a liminal space between states of being.
So as a step 1 – Don’t be a moron. Read documentation. Never practice in Prod.
Luckily for me, this only had a Nessus server and a few Ubuntu VMs on it so I’m just going to burn it.
I’ve downloaded ESXi 8.0 from VMware’s download center. Which, I might add, is a nightmare to navigate and I hate it. But after clicking around for longer than I care to admit, I broke down and read the documentation. This helped me get to where I needed to be:
https://docs.vmware.com/en/VMware-vSphere/8.0/vsphere-esxi-installation/GUID-016E39C1-E8DB-486A-A235-55CAB242C351.html
After the ISO downloaded, I flashed it to a hard drive using Rufus and booted it to my physically and emotionally broken server.
Once booted, it gave me a few prompts, and eventually ended up at a screen that is intended for upgrades or reinstallation. We’re starting from scratch, so I’ll choose to install and overwrite the datastore.
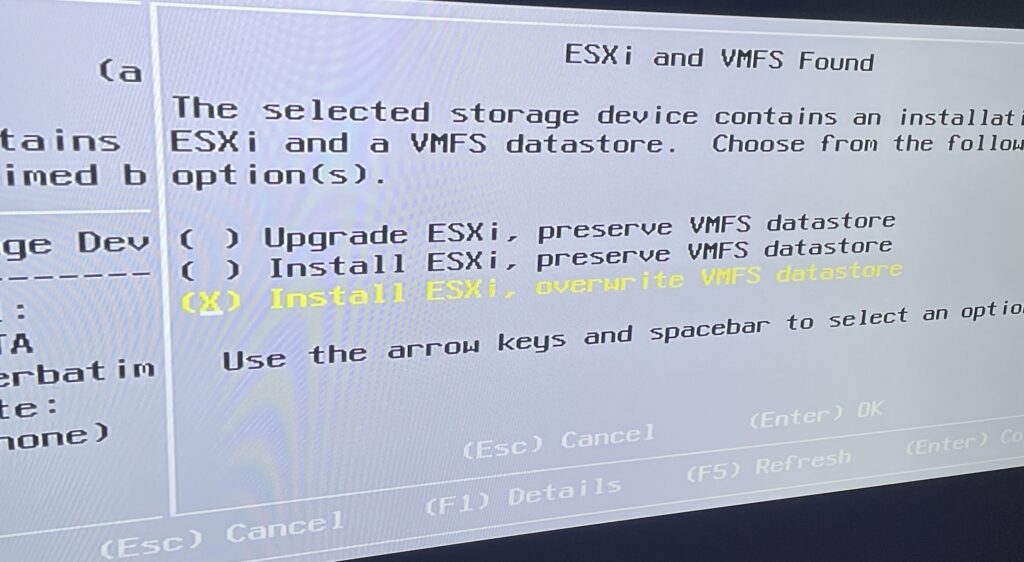
And after a few more basic setting choices, I’ll confirm our install.
Once finished, I rebooted my hardware, and waited for all my hard work to appear on the screen.
I did it. While others are out there roofing, or laying down hot asphalt in the blistering heat – underneath a sun that’s neither merciful or forgiving… Here I am, god’s strongest soldier. No one can stop me now.
My server was already networked and is successfully on its designated IP, so I should be able to browse right to it.
Great, now I’ll download the ISO file from the Security Onion GitHub and verify its signature.
…aaaand would you look at that. I forgot I never installed WSL. Welp, luckily its not too hard.
Setup Windows Subsystem for Linux (optional)
Just open Command Prompt
Type wsl --install
reboot
and Create your home folder/user account and password

I had already downloaded the SecurityOnion installer/signature to my Windows directory so I just have to move them to my fancy new Linux home folder. Typically I just access the folder from the mounted drive in File Explorer but I found out you can also use this command to move folders from your Windows environment to your WSL env from within WSL:
mv /mnt/c/Users/youruser/Documents/project/myproject .
So that’s cool! Anyway, all that to say: yes, the download verified successfully.
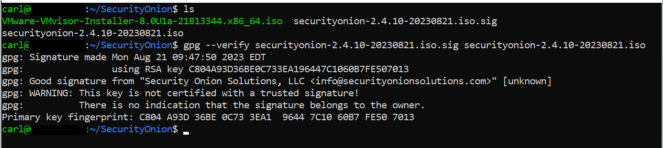
Side note: I’m sure there’s a way to verify signatures in Windows, but I’m lazy and this is just what I’m familiar with.
Okay, is it time for the fun stuff yet? Is any of this fun? Am I just a pawn in the game between time and death?
Creating the Security Onion VM
So, I’ve uploaded the ISO to my ESXi’s datastore and it took only half as long as I thought it would.
Look, I’m a believer that your homelab doesn’t need hardware you’d see out in the wild, or cost hundreds of dollars to acquire and maintain. I run off a few low-powered devices and, while admittedly it’s limited, it allows me to do the things I need to do. I can tinker, and that’s all I really care about.
From here we’ll click on Virtual Machines and at the top left hit Create / Register VM
We’ll create a new virtual machine, enter the name, choose Linux as our Guest Family OS and CentOS 9 (64-bit) as our Guest OS Version.
Next I’ll select my internal datastore.
And then customize the settings to the following:
Once it’s configured and completed it’s time to press play.
Power the VM on and you should be faced with the screen below. I’m not going to bother messing around, just hit enter and don’t think about it. Trust me, nothing bad can come from that.
Perfect. It looks like its working. Look at me, I’m a virtualization architect.
Moving forward seems to be pretty straight forward.
You’ll confirm the set up and agree to the privacy policy.
After a couple more windows, you’ll see the window for what kind of setup you want to do, and as mentioned earlier, we’ll just be doing the Import set up.
Security Onion is a powerful open source project, and it can do far more than what I’ll be using it for here. It’s a free and open source SIEM seemingly powerful enough for even enterprise environments. And we’re going to use it to look at stuff.
Select Import.
Oh…
Okay then…
That’s interesting. I’m assuming this has to do with the way ESXi distributes RAM?
Okay, it seems to be giving me command line control now.
I took a guess and well, whatdya know, typing shutdown makes the machine suddenly go quiet and emotionally distant.
I’ll edit the VM’s settings and increase the RAM from 4 to 5. I would do 6 but I don’t want to push my luck. This thing might take up a rebellion with my Roomba and Litter Robot if I’m not careful.
Ok, let’s try this again…
Alright, well after a reboot and a little troubleshooting with the virtual switches and VLAN IDs, I was able to get it working.
I think at some point I’ll do a blog on really learning ESXi VM networking and security but this is not that blog. Again, I’m setting up Security Onion for Import, so until I lose interest, this will be the only thing running in this environment anyway.
I think now is a good time to remind everyone here, this isn’t a guide, and I am not a genius. I do this to learn things and force myself to write down my mistakes. Again, this is for me, not you.
…Well I guess it’s a little bit for you now. Thanks for sticking around.
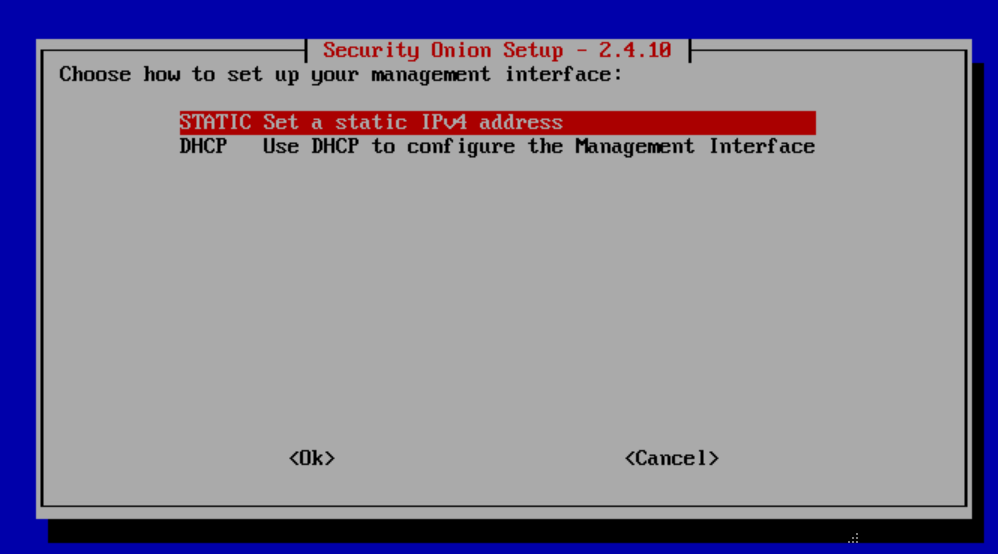
We had to establish the IP, gateway, proxy, email address, and password. I didn’t take screenshots because of reasons, but here is Security Onion’s documentation on pretty much everything I covered here:
https://docs.securityonion.net/en/2.4/first-time-users.html
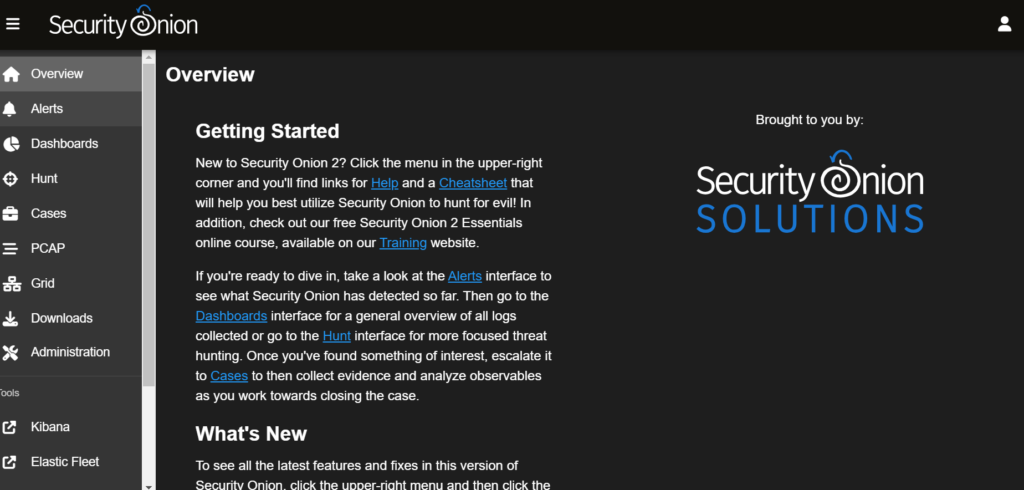
I love this feeling. My new service is spinning.
I think I’ll continue this with a part 2 to focus more on stumbling through the PCAP import and threat hunting.
Thanks for joining.